There are many ways to Quilt As You Go (QAYG). I often use the first way I learned with slight modifications. I like this method because no machine stitching shows and I do not have to use a sashing.
Start by quilting your pieces BUT do not quilt within about 1" of any edges to be joined.
1. Working with the first piece, I usually lightly press the edge that I am going to join.
2. Trim the backing and batting even with the edge that is going to be joined.
3. Fold back the top of the quilt and the backing and pin leaving the batting which will be trimmed.
 |
| Top of quilt pinned away from batting. |
 |
| Back of quilt pinned away from batting. |
4. Carefully trim 1/2" off of the batting. Do NOT cut the top or the backing of the quilt.
 |
| Be careful - do NOT cut thru the top or the backing. |
When you take the pins out, the top and the back will cover the batting.
5. Working with the second piece, lightly press the edge that is to be joined.
6. Fold the backing back under the batting away from the edge
 |
| Lift the batting then fold the backing back under the quilt. |
and pin to hold it.
 |
| Pin the backing back onto itself. |
When it is pinned, the backing should be at least an inch under the edge of the top of the quilt.
 |
| The backing is pinned and held back at least an inch from the edge of the top. |
7. With the backing pinned out of the way, carefully trim the batting even with the top. Do NOT cut through the backing.
 |
| Cut just the batting even with the top. The backing is pinned out of the way. |
8. Unpin the backing, smooth it out, and
trim the backing 1/2" from the edge of the top of the quilt.
9. On both pieces to be joined, fold back and pin the batting and the backing out of the way so the tops can be joined.
 |
| Fold back the backing on piece one and pin out of the way. |
 |
| Fold back the batting and the backing on piece two and pin out of the way. |
10. Place right sides of the tops together
 |
| The pins are holding the batting and backing away from the edge. |
and pin often.
 |
| Only the tops of the quilt are pinned together to be sewn. The backing and batting are pinned out of the way. |
Stitch a 1/4" seam.
 |
| Carefully sew the seam. |
11. When the seam is sewn, check to be sure it is okay. Now is the time to make any adjustments or corrections.
 |
| Check both sides of the seam and the right side to be sure everything is fine. |
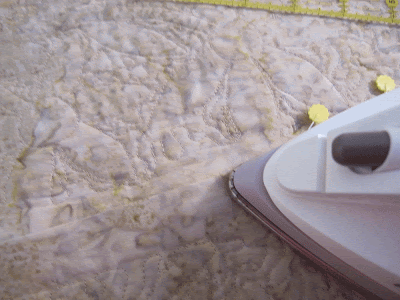
Then lightly press the seam open.
 |
| Press seam open. |
12. Remove the pins that were holding the batting and backing out of the way.
 |
| Remove pins holding backing and batting out of the way. |
And lightly press the batting and backing flat.
 |
| Lightly press the batting and backing flat. |
 |
| Lightly press the batting and backing flat. |
13. Place the quilt with the backing side on top. Fold back the backing to see the batting. The two pieces of batting should just meet. Baste the pieces together sewing through JUST the batting.
 |
| Take a long stitch on the right side of the batting. |
 |
| Take a long stitch on the left side of the batting. |
 |
| Sorry I turned the camera. |
14. Unfold the backing over the batting.
Fold under 1/2" on the longer side,
 |
| The ruler is upside down - your eyes are fine! |
pin it on top of the other side and press.
 |
| Back of quilt almost done! |
Stitch this seam with a blind hem stitch being careful to catch only the backing and not the top of the quilt.
15. All that is left to do is to finish the quilting on the top of the quilt.
I know this seems long but it really is easy!


Took a few "back glances" to follow but this is a very good QAYG method and one that I will "file" away for next time. Very neat finish! Thanks! Hugs......
ReplyDeleteIt is definitely hard to explain but easy to do! And I love the finished product! It would have helped if I had used fabric where you could tell the right and wrong sides. I just used my current project without thinking...
DeleteWow, thank you for sharing this. I have never seen a QAYG technique that didn't involve adding a sashing. By the way, I love the batik you are using on the back. I have used some of that, or very similar, in a quilt, and I don't have too much left, but it is a really nice one.
ReplyDeleteThat doesn't seem too difficult My daughter has already asked for a king-sized quilt (whenever they get a new bed, they're going to get it king-sized). I'm sure I could quilt it using a hoop, but doing it QAYG would certainly be much easier. I'll have to file this away for when that day comes. Thanks for sharing this!
ReplyDelete